Assignment 08
Check list
There are a lot of different tasks introduced in this assignment, and you will not have automated tests to tell you when you're done. Here's a checklist to help you keep track, which Kevin will add to your github repo once you've created it and shared it with him.
- [ ] Code repo (from Assignment 7), renamed and in public repo
- [ ] tests still passing
- [ ] Analysis repo complete
- [ ] README has heading 1 title and bold author line
- [ ]
Project.tomlwith code repo,Revise,DataFrames, andPlotsas dependencies - [ ]
data/directory with explanation for how to download data- [ ]
cov-sequences.fasta
- [ ]
- [ ]
notebooks/directory with1-sequence-stats.md- [ ] Including code and description for calculating mean and standard deviations for sequence length and gc content
Wrapping up Assignment07 Package
In the previous assignment, we created a julia package that you're going to be re-using for the rest of the course. But it doesn't have a very good name, and at the moment, your assignments are in private repos, which makes some stuff (like using it for automated tests) harder.
Before continuing, make sure that you've successfully completed assignment 7 and all of the tests are passing
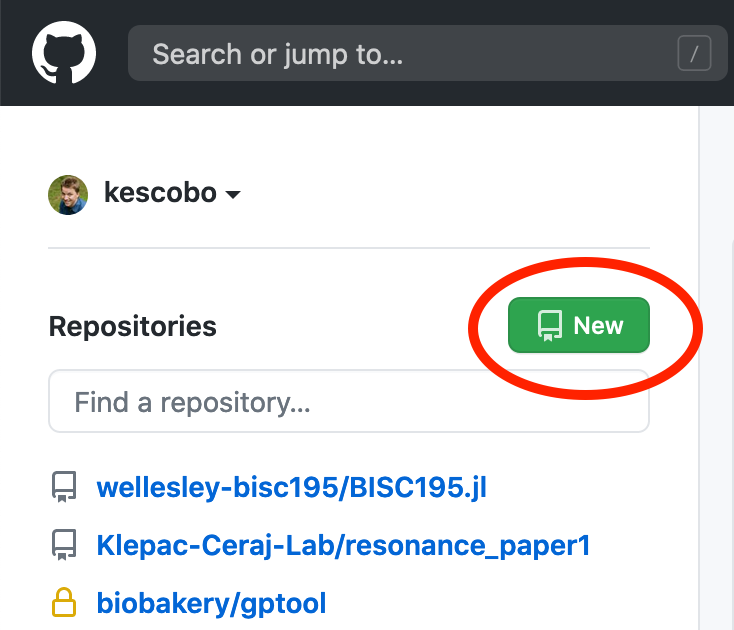
First, let's make a new, public home for your bioinformatics package.
On github, create a new repository:
Give it a good name - Julia package names usually end with
.jl. Be sure that the repo is set topublic.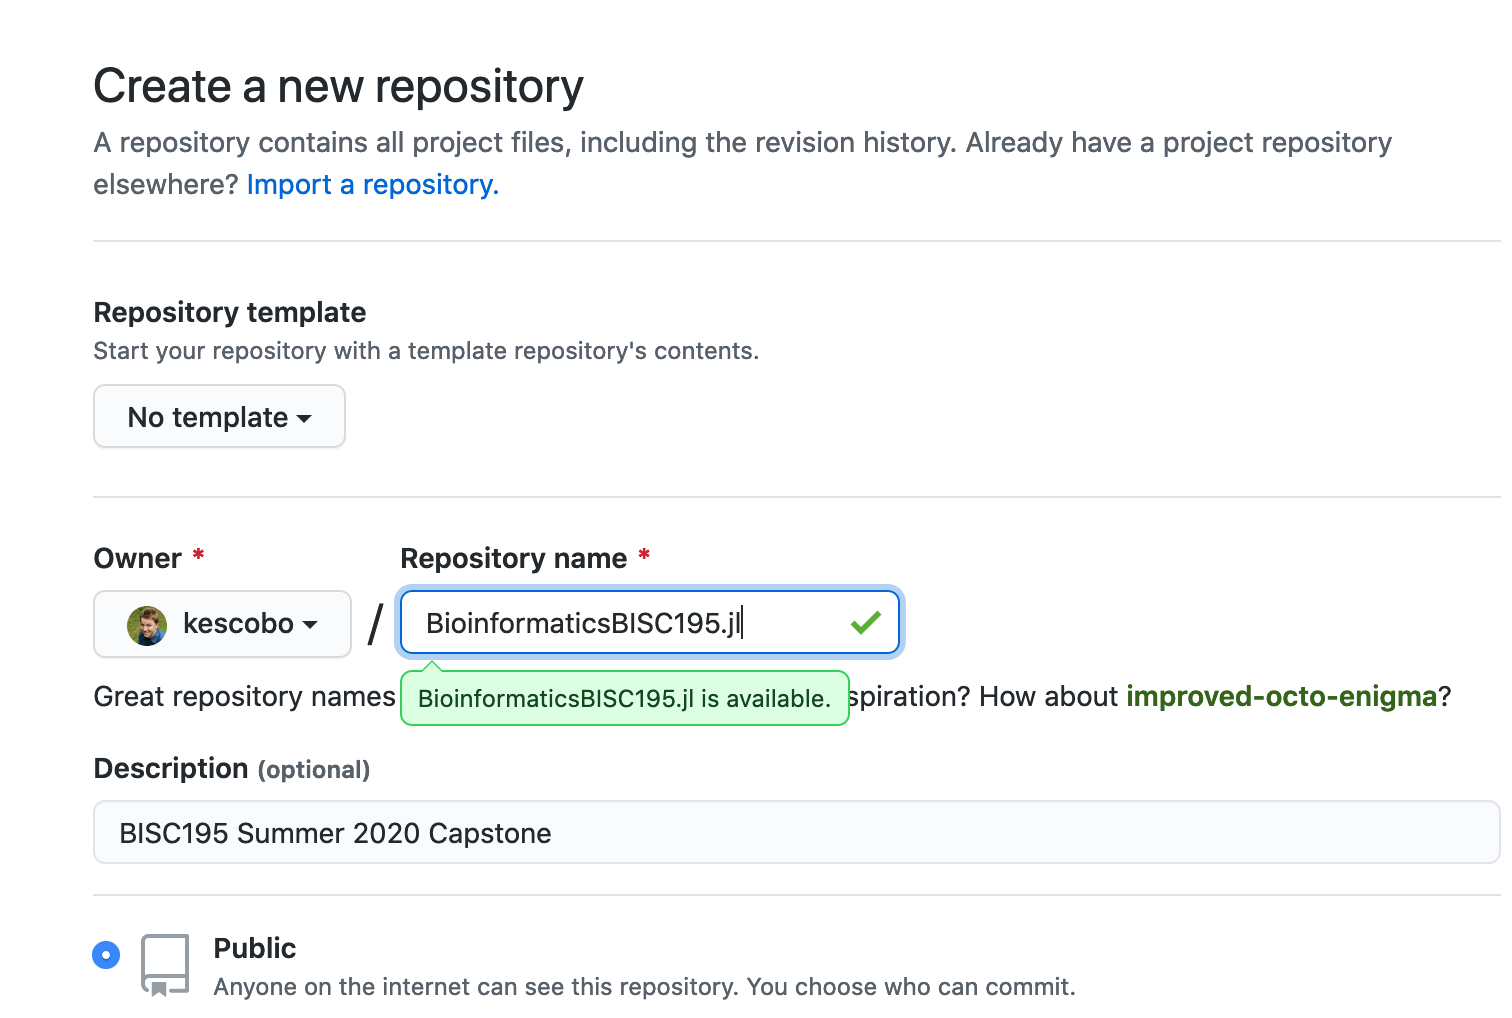
Copy the url of the repository

On your computer, navigate to your
Assignment07-<username>directory. We are now going to pointgitto this new location, so that when you make new changes in the future, they will go there instead.In the terminal,
$ git remote set-url origin <paste URL here>
$ git push -u origin trunk
Enumerating objects: 61, done.
Counting objects: 100% (61/61), done.
Delta compression using up to 12 threads
Compressing objects: 100% (46/46), done.
Writing objects: 100% (61/61), 76.07 KiB | 1.46 MiB/s, done.
Total 61 (delta 21), reused 24 (delta 7), pack-reused 0
remote: Resolving deltas: 100% (21/21), done.
To github.com:kescobo/BioinformaticsBISC195.jl.git
 * [new branch]      trunk -> trunk
Branch 'trunk' set up to track remote branch 'trunk' from 'origin'.
Now let's rename the module in the julia code. Open the assignment directory in VS Code. There are a few places that the module name currently exists - use
cmd+shift+F(ctrl+shift+Fon Windows) to open the search panel (you can also click the magnifying glass icon in the sidebar) and search forAssignment07.Replace
Assignment07with whatever you named your module, and then rename the main module file atsrc/Assignment07.jl.Commit and push your changes.
Back on github, click on the
Settingstab for your repository, then onManage access, and add Kevin (@kescobo) as a collaborator.
Building an analysis repository
Now, we'll create a new project to handle our analyses of SARS-CoV2 genomes. While it is possible to keep everything in the same directory, it's a good idea to keep code that may be useful in many projects (such as your bioinformatics functions) separate from code that is used for one specific purpose.
Open a terminal, and create a new directory with
mkdirfor CoV2 analysis (you can put it in the same directory as your other assignments, but don't put it inside any of those assignments). Usecdto make this new directory your working directory, then entergit initto make this into a git repository.On github, create a new repository, copy its url, and use
git remote addto set this asorigin(refer back to lesson 1 if you need a reminder about how these commands work).$ git remote add origin <url>Don't forget to add Kevin as a collaborator.
Create a directory inside this repo called
notebooks, and another calleddata.Open the analysis directory in VS Code. Create a file called
README.md, give it a title (use markdown to make the title Heading 1 format), and addBy <your name>under the title in bold.Commit and push your changes. Remember, the first time you push, you need to say where to push:
$ git push --set-upstream origin masterTake a look at the repo on github - your README should show up, correctly formatted, but the directories won't show up until there are committed files in them.
Add a file called
data.mdto thedata/directory - This is where we'll describe how to get the data that we're going to analyze, but you can leave it blank for nowAdd a file called
1-sequence-stats.mdto thenotebooksdirectory. Also ok to leave this file blank for now.Commit and push your changes.
At this point, you should have a git repo with the following structure:
./MyAnalysis
├── data
│   └── data.md
├── notebooks
│   └── 1-sequence-stats.md
└── README.md
Getting the data
An enormous amount of data has already been generated on SARS-CoV2 (the virus) and COVID-19 (the disease caused by CoV2). You can get links to much of it on NCBI - the National Center for Biotechnology Information.
We're particularly interested in the genome sequences of SARS-related corona viruses. Go to the Virus search page, and use the search function to see all of the genomes of SARS-CoV (Severe accute respiratory syndrom-related Coronavirus), MERS-CoV (Middle East repiratory syndrom-related Coronavirus), and SARS-CoV2 (the virus that causes COVID19).
Refine the search a bit by selecting only complete genomes (under "Nucleotide completeness"). At the time I write this, there are just under 7300 such records, though there may be more by the time you search.
The search parameters you enter are stored in the url. Copy the url and put it into your data/data.md file, explaining what it is. It's always a good idea to keep track of where data comes from so that your work is reproducible by someone else.
Click "download", make sure "FASTA Nucleotide" is selected, and download all records. When it asks about the FASTA definition line (the header), build a custom header and be sure to include the Accession number (this is a unique identifier), the species, and the Geo location.
Download the sequences, and put them into your data/ directory with a more descriptive name than sequences.fasta. Be sure to describe what you did in data/data.md.
Usually, it's not a good idea to add and commit large files like genome sequences to the git repository, especially if those files are likely to change often (since git stores a record of all of the different versions).
In this case, our file is not going to change, and it's not that big, so it's ok to commit it, but if you want to avoid commiting it, and to make git forget about trying to track it, you can create a file called .gitignore inside your repo, and put data/<filename> in it. Be sure to add and commit the .gitignore file!
Setting up julia project
Open a julia REPL in your analysis directory (you can do this from VS Code or by opening a new REPL and using cd()).
Now, activate the environment from the Pkg REPL, and use dev (short for develop) to install your bioinformatics project. To do this, you can use the path (relative or absolute) to the bioinformatics project directory.
For example, if it is in your Documents/ directory, you might enter
pkg> dev /Users/<username>/Documents/BioinformaticsBISC195As with $ in shell prompts, the pkg> is an indicator that you should be using the Pkg REPL (accessible by pressing ]), and isn't part of the actual command.
Once you've done this, you will be able to do using BioinformaticsBISC195 in your julia code, as long as this julia project is active.
In addition, use add to install the packages Revise, Plots, and DataFrames. We'll use those a bit more later.
Add and commit the Project.toml and Manifest.toml files,
Using the notebook
In the notebooks/1-sequence-stats.md file, write julia code to calculate the mean and standard deviation of the lengths and gc content of your coronavirus genomes, as you did in Assignment 6. Include a title (with header format) and a description of what your code is doing.
Remember, you can use the code you've written in your bioinformatics package just by doing using <PackageName>. Also remember, in markdown files, julia code should go in "code fences." Eg.
# Some Coronavirus Analysis

Here's some description of what I'm doing.
I downloaded coronavirus geneomes from NCBI
(see `data/data.md` for more details)

Etc.

```julia
using BioinformaticsBISC195

genomes = parse_fasta("../data/cov2_sequences.fasta")
```

Now I have the genomes, and need to do stats.
Note - your descriptions should be... more descriptive.

```julia
using Statistics
#more code...

```

etc..
If you're using VS Code to edit your markdown, and have both the julia and markdown julia extensions installed, you can execute code within code fences in exactly the same way as you've been doing in .jl files.
No tests
There are no automated tests for your analysis code - this is research, I don't know what the right answer is!
But this means that it's extra important that you add extra checks to make sure the code is doing what you intend.